Creating a random image generator using Chat GPT can be a challenging task as it involves a combination of several technologies, including computer vision and natural language processing. However, it is possible to create a basic image generator using Chat GPT by following these steps:
- Collect a dataset of images: To generate random images, you will need a dataset of images to train your model. You can use open-source datasets such as ImageNet, CIFAR-10, or COCO, or create your own dataset.
- Fine-tune the GPT model: You will need to fine-tune the GPT model on your image dataset. Fine-tuning the model involves training it on the image dataset using techniques such as transfer learning.
- Generate text prompts: Once you have a trained GPT model, you can generate text prompts for it to generate images. You can use simple phrases such as “generate a random cat image” or “show me a picture of a car,” or more complex prompts that provide more specific details about the image.
- Generate images: Using the generated text prompts, you can then use the fine-tuned GPT model to generate random images that match the provided prompt.
Keep in mind that generating high-quality images can be challenging, and the quality of the generated images will depend on the size and quality of the training dataset, the complexity of the image generator, and other factors.
Random Image Generator Using Chat GPT
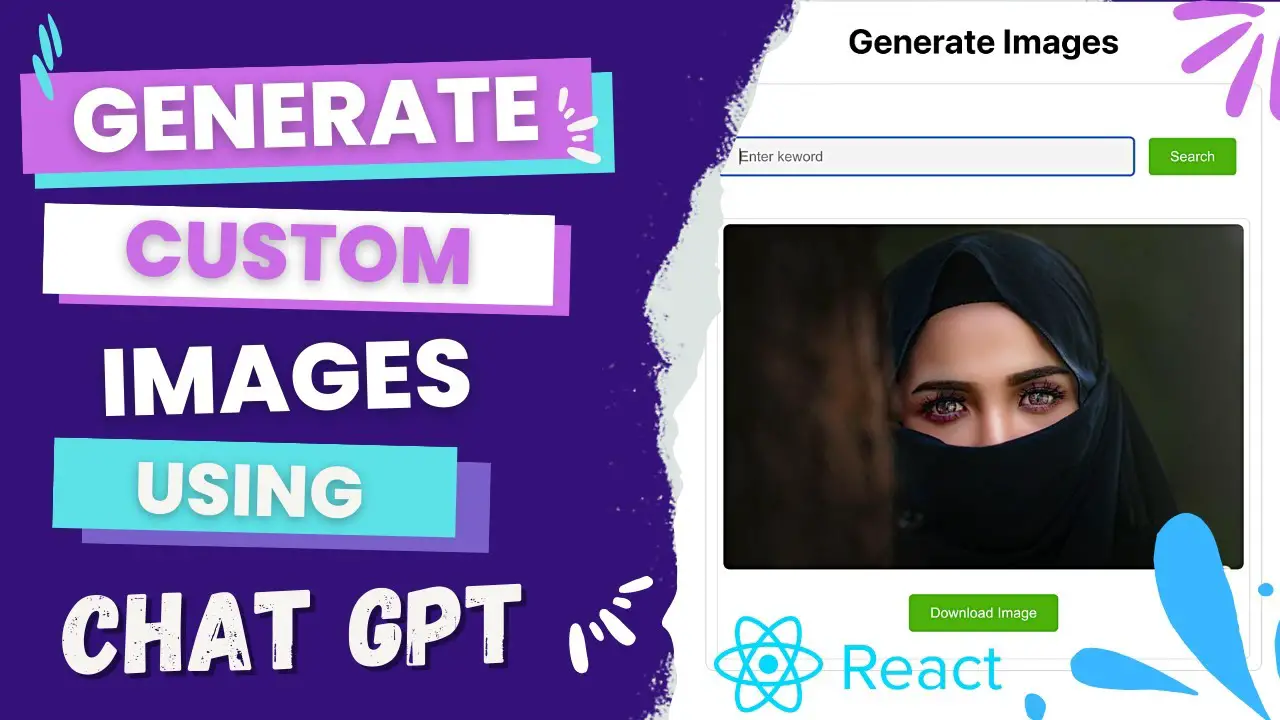
But Wait We are sharing a method with you for generated images with the React and API Integration of Pixabay. Let’s Do This.
Table of Contents
Introduction
In this tutorial, we’ll create a simple random image generator using the Pixabay API and React. The Pixabay API is a free API that allows us to search and retrieve images from the Pixabay image database. We will use the Axios library to make HTTP requests to the Pixabay API and the ReactJS library to create the user interface for our image generator.
Read Also: How to Integrate Chat GPT into Microsoft Word in 2023
Prerequisites
Before we begin, the following prerequisites must be installed on your development machine:
- Node.js and npm (Node.js package manager) Download Package Link
- Text editor (such as Visual Studio Code) Download Link
- Web browser (such as Google Chrome) Download Link

Step 1: Setting Up the Project
First, we need to create a new React project. Open a terminal window and navigate to the directory where you want to create your project. Then run the following command to create a new React project using the create-react-app tool:
npx create-react-app random-image-generatorThis will create a new directory called random-image-generator with the main files and folders needed for the React project. Change to the project directory:
cd random-image-generatorNext, we need to install the Axios library, which we will use to make HTTP requests to the Pixabay API. Run the following command to install Axios:
npm install axiosStep 2: Creating a Pixabay API Key
Before we can use the Pixabay API, we need to get an API key. Go to the Pixabay API page and sign up for a free API key. Once you’ve got your API key, keep it handy as we’ll need it later.
Step 3: Fetching Images from the Pixabay API
Now that we have our API key and required libraries, we can start getting images from the Pixabay API.
First, let’s create a new file called api.js in the src directory. This file will contain the code to make HTTP requests to the Pixabay API.
In api.js, import the Axios library and create a new fetchRandomImage function that accepts a search query and returns a random image from the Pixabay API:
import axios from 'axios';

const API_KEY = 'YOUR_API_KEY_HERE'; // Replace with your own API key

export async function fetchRandomImage(searchTerm) {
  const response = await axios.get(
    `https://pixabay.com/api/?key=${API_KEY}&q=${searchTerm}&per_page=100`
  );
  const images = response.data.hits;

  if (images.length === 0) {
    throw new Error(`No images found for search term: ${searchTerm}`);
  }

  // Return a random image from the search results
  return images[Math.floor(Math.random() * images.length)];
}
Step 4: Creating the User Interface
Now that we have the ability to get random images from the Pixabay API, we can start building the user interface for our image generator.
Open the src/App.js file and replace its contents with the following code:
import React, { useState } from 'react';
import { fetchRandomImage } from './api';

function App() {
  const [image, setImage] = useState(null);
  const [searchTerm, setSearchTerm] = useState('');
  const [isLoading, setIsLoading] = useState(false);
  const [error, setError] = useState(null);

  async function handleSearch(e) {
    e.preventDefault();
    setIsLoading(true);
    setError(null);

    try {
      const image = await fetchRandomImage(searchTerm);
      setImage(image);
    } catch (error) {
      setError(error.message);
    } finally {
      setIsLoading(false);
    }
  }
  return (
    <div className="App">
      <form onSubmit={handleSearch}>
        <input
          type="text"
          value={searchTerm}
          onChange={(e) => setSearchTerm(e.target.value)}
        />
        <button type="submit" disabled={isLoading}>
          Search
        </button>
      </form>
      {isLoading && <p>Loading...</p>}
      {error && <p>{error}</p>}
      {image && (
        <div>
          <h2>{image.tags}</h2>
          <img src={image.webformatURL} alt={image.tags} />
        </div>
      )}
    </div>
  );
}

export default App;
This code creates a simple form with an input field and a search button. When the form is submitted, the handleSearch function is called, which sends a request to the Pixabay API using the fetchRandomImage function we created earlier. The response from the API is then used to update the state of the component with the image data.
The component also has several state variables to keep track of the search terms, whether the query is loading, any errors that might occur, and the image data itself. These state variables are used to display a loading message, an error message, or an image and its tags depending on the current state of the component.
Step 5: Testing the Image Generator
Now that we have all the code, we can test our image generator by running the following command in the terminal:
npm startThis will start the development server and open a new browser window with the image generator. Try searching for other terms to see a random image from the search results.
Conclusion
In this tutorial, we learned how to create a simple random image generator using the Pixabay API and React. We used the Axios library to make HTTP requests to the API and the ReactJS library to create the user interface.
I hope you found this tutorial helpful and that you were able to successfully create your own.
Read Also: Chat GPT vs Google Search
